DJI Mavic, Air and Mini Drones
Friendly, Helpful & Knowledgeable Community
Join Us Now

Dj Avata 2 D-Log

Greg Peter

Well-Known Member
Joined
May 2, 2019
Messages
45
Reactions
3
Dear Mavic Pilots,
I believe I have a good question.
I have a Mavic 3 original

Now if I want to use D-Log, ( which I’ve not used yet) as you know there is a function on the controller where you can enable, and you can see a normal colour view of what your doing.

Now I just purchased the Avata2 because I want to learn FPV

If I want to film in D-Log or whatever it’s called, do you see the natural view through the goggles 3?

Also, if I use a nd filter as well, will I be able to see the difference as well in my goggles that there is a nd filter on?

If yes, that means when I download my footage , it will be shown in d-log in my editing software right?

And if that is correct, will that particular footage that has been recorded in d-log, and with a ND filter, be the footage downloaded into my editing software ready to be colour graded ?

Best
Greg 😇

Admittedly only speaking from experience with the Avata 1, the image in the goggles is essentially a "natural live view" without the LOG profile (similarly it doesn't apply RockSteady to the goggle feed either). So you'll get a "normal" view in your goggles, while the footage you pull off the card will be LOG (and also stabilized if you have RockSteady turned on) and the footage you see in your editing software will be LOG footage.

An ND filter is a physical filter that goes on your lens, so yes, you will see the difference in the goggles and recorded footage if you put one on, assuming you have your exposure settings to manual, because the ND filter blocks light. If you have your ISO or shutter speed set to Auto, however, the camera will adjust one or both of them to make the image brighter. So in that sense, you may not be able to see a difference in brightness in the goggles or the recorded footage if you're using an ND, but a change in shutter speed or ISO will have an impact on the recorded footage (such as more noise or in increase in motion blur that may or may not be noticeable).
Good evening,
You are so kind thank you.

So that means if I was flying manual , (which I want to do) I would control the ISO, white balance, shutter and aperture as well, since I’m using a ND filter . If I do that, while flying, I’ll see the actual live video in my goggles. But if everything looks great through the goggles, when I export the footage to my editing software , of course it will have the d-log look, but even so, when I start colour grading, it will not be over or under exposed since I have already fixed that before or while I started flying . Is that correct ?

In other words, if I fix everything up before I fly, and everything looks good through the goggles, when I export to my editing software, I should not be afraid of that D-log look being bad . If I fix everything up before I fly. Correct ?
Best
Greg 🙏🙏🙏😇
 
Admittedly only speaking from experience with the Avata 1, the image in the goggles is essentially a "natural live view" without the LOG profile (similarly it doesn't apply RockSteady to the goggle feed either). So you'll get a "normal" view in your goggles, while the footage you pull off the card will be LOG (and also stabilized if you have RockSteady turned on) and the footage you see in your editing software will be LOG footage.

An ND filter is a physical filter that goes on your lens, so yes, you will see the difference in the goggles and recorded footage if you put one on, assuming you have your exposure settings to manual, because the ND filter blocks light. If you have your ISO or shutter speed set to Auto, however, the camera will adjust one or both of them to make the image brighter. So in that sense, you may not be able to see a difference in brightness in the goggles or the recorded footage if you're using an ND, but a change in shutter speed or ISO will have an impact on the recorded footage (such as more noise or in increase in motion blur that may or may not be noticeable).

A Neutral Density filter is like sunglasses... it simply reduces the intensity of all visible light frequencies. If the image is correctly exposed – which it will be in auto – you will see absolutely no difference in the image either through the goggles or on any recorded media insofar as brightness or color.

The only impact is longer shutter and/or higher ISO, so depending on the brightness of the scene visible artifacts with a filter vs. without are more motion blur, and more noise in shadows.

ND filters are mostly only useful for preserving the "180 rule" for video. Google it. They have almost no useful application for stills, actually making the situation worse increasing noise, and motion blur.

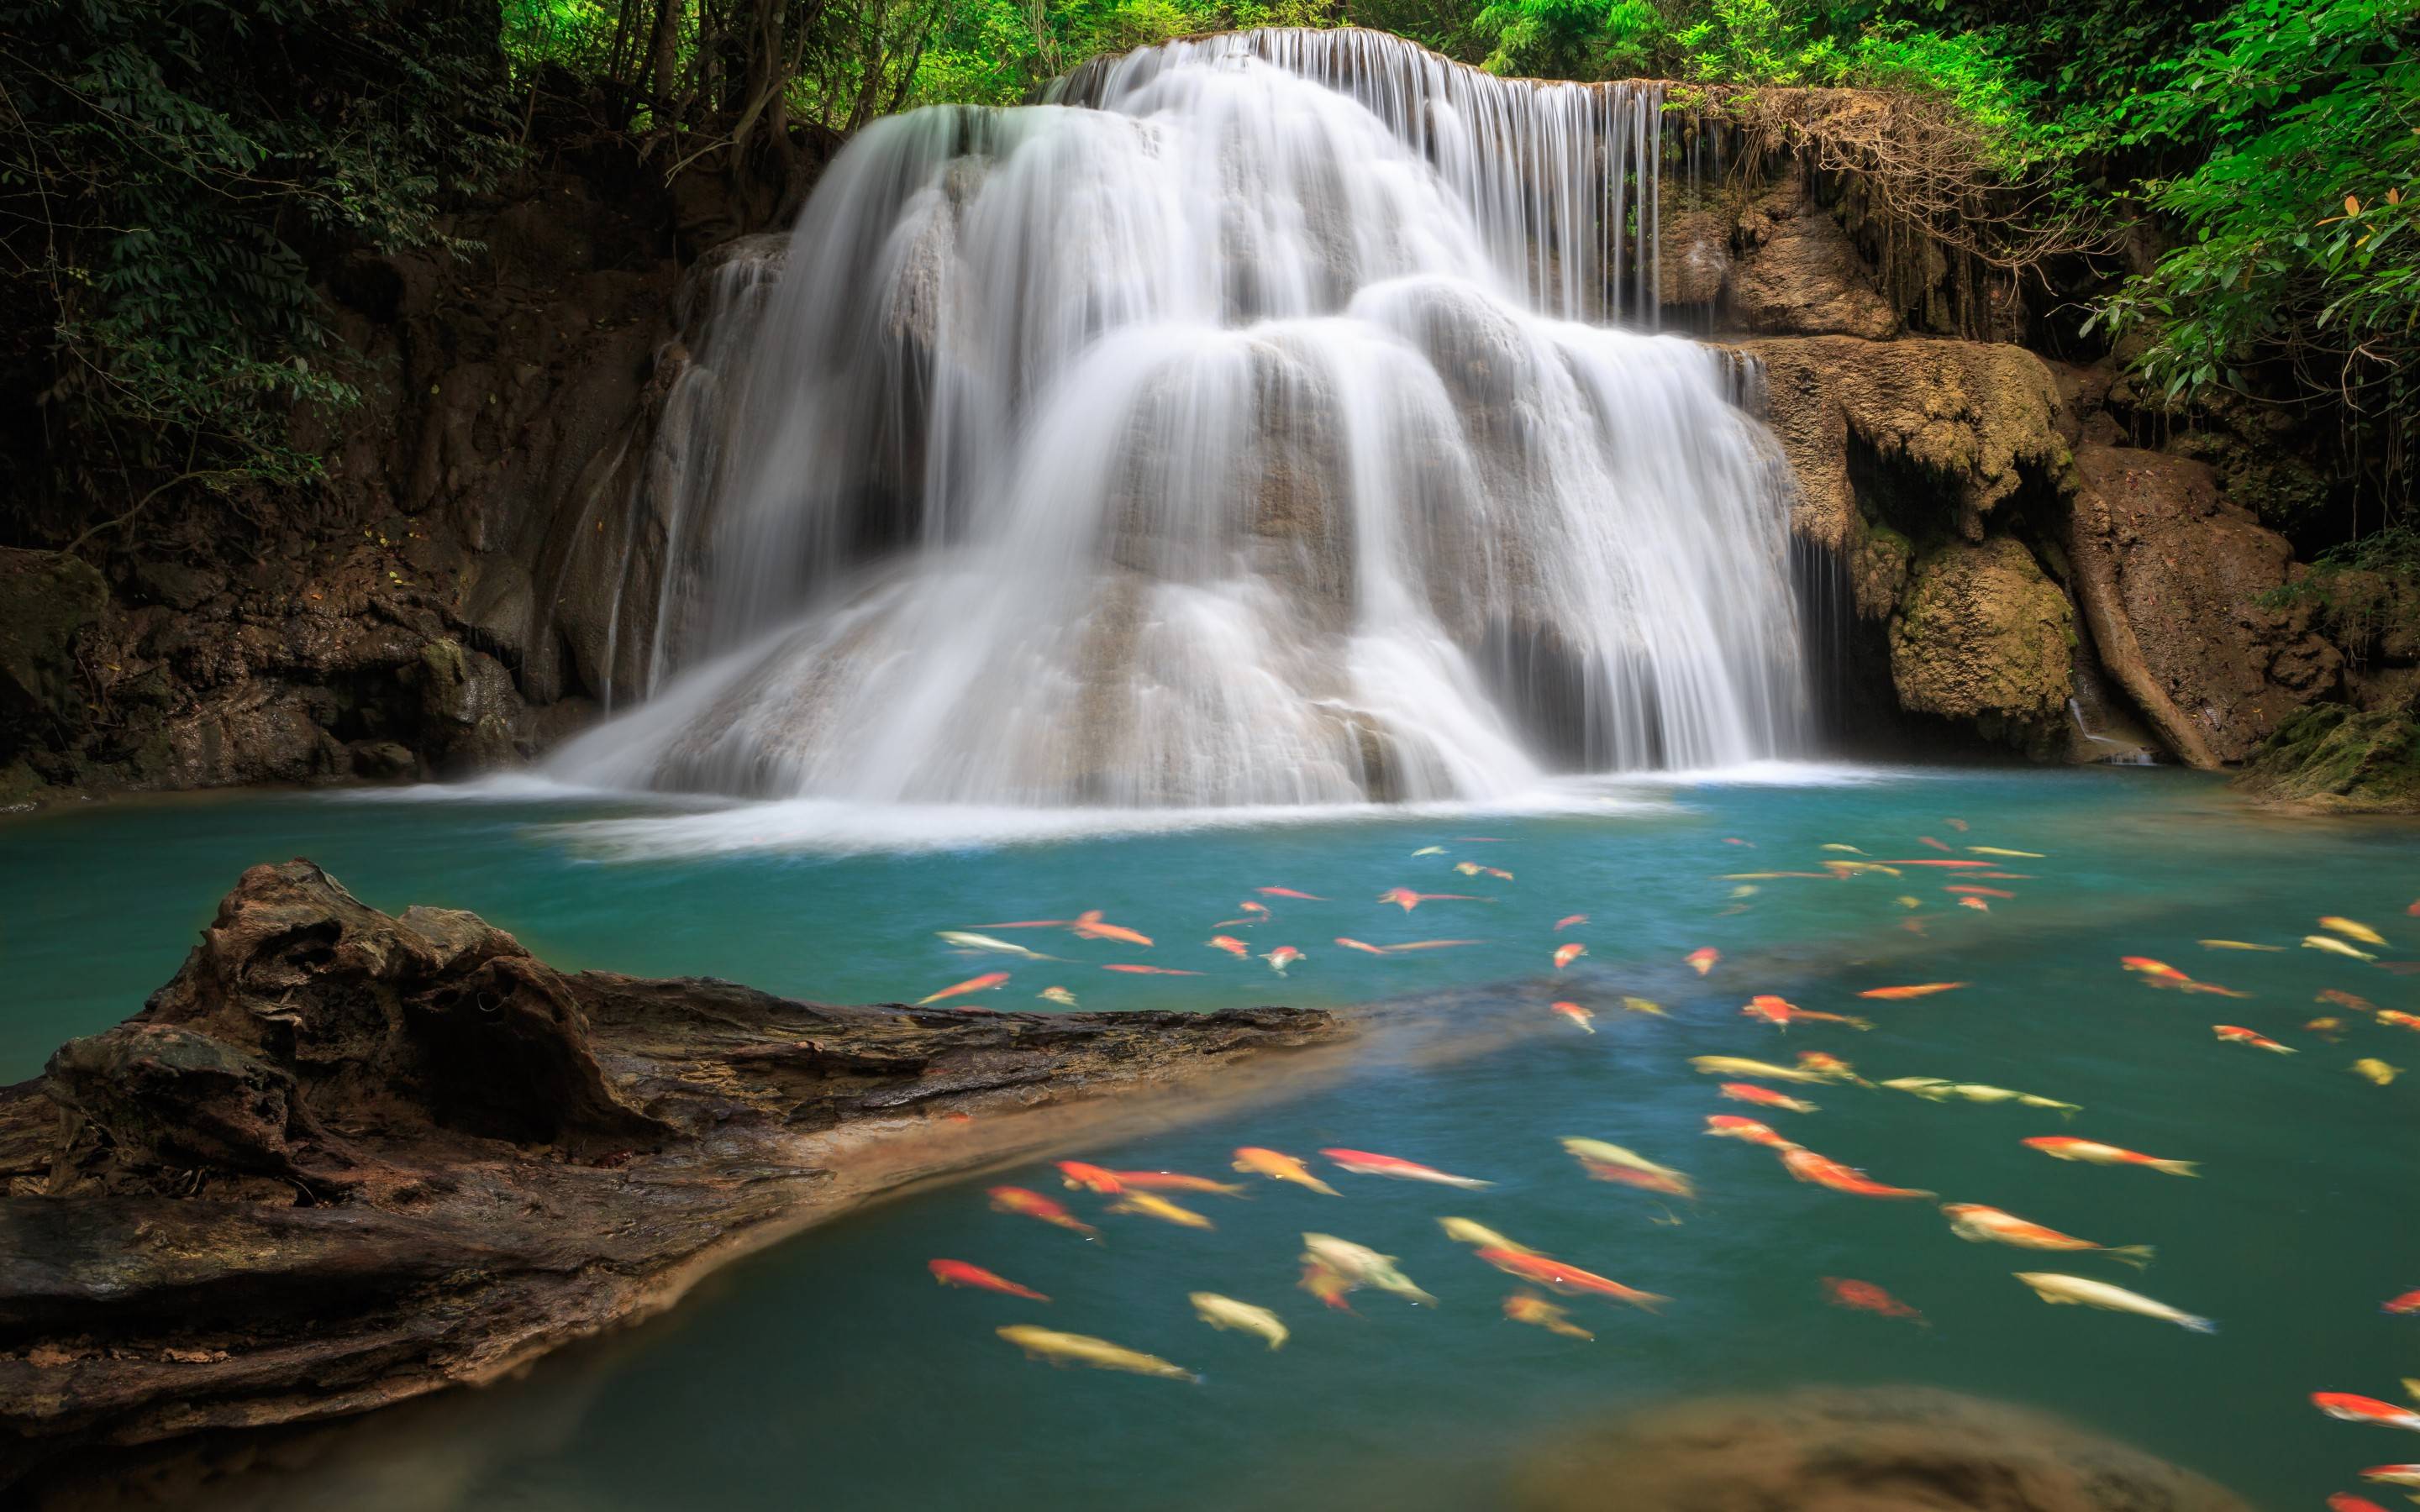
It's this last effect where ND filters are a very useful tool when you  want blur. For example, artistic waterfall images...

ABbsOoM.jpg
 
Good evening,
You are so kind thank you.

So that means if I was flying manual , (which I want to do) I would control the ISO, white balance, shutter and aperture as well, since I’m using a ND filter . If I do that, while flying, I’ll see the actual live video in my goggles. But if everything looks great through the goggles, when I export the footage to my editing software , of course it will have the d-log look, but even so, when I start colour grading, it will not be over or under exposed since I have already fixed that before or while I started flying . Is that correct ?

In other words, if I fix everything up before I fly, and everything looks good through the goggles, when I export to my editing software, I should not be afraid of that D-log look being bad . If I fix everything up before I fly. Correct ?
Best
Greg 🙏🙏🙏😇

Generally yes. If the footage looks good in your goggles, the LOG footage will look good as well once you grade it.

That said, I would suggest erring on the side of a bright image in your goggles (or put another way, expose to the right of the histogram). The issue is that LOG footage has a bigger dynamic range than the goggles, so highlights might look clipped in your goggles but will be recoverable in the LOG footage. And it's easier to maintain your image quality if you have to lower the brightness rather than raise it, because raising brightness exacerbates noise. So my suggestion is to make things look good in your goggles, then dial in maybe 1-2 stops of brightness (either using a lower ND filter, or a slower shutter speed, or a higher ISO).
 
I want to say, I’m so blessed that we have this forum because you guys are simply the best of the best❤️

When you mean to the right of the histogram, Does that make things more bright?

You’re saying exposed to the right of the histogram. The way I understand this is to make it brighter. Is that correct?

When you mean by one or two stops, can you elaborate a little bit on this? I don’t know what this is.

Also, when I put the Doc footage in my editing software, do I have to use a rec 709 lut , before I start colour grading?

I truly appreciate your help on this
Best
Greg 😇

Yes, pushing to the right of the histogram means making things more bright (if the bulk of the histogram is to the right that means the image is brigher, and to the left is darker).

So a "stop" is essentially a unit to describe how much light is being let in to the sensor. It's very fundamental to photography and honestly you're better off just searching for an explainer (it can get kinda technical).

But as an example, going from 1/60s shutter speed to 1/30s shutter speed is increasing the exposure (giving you a brighter image) by one "stop." Going from 1/60s to 1/125s is decreasing the exposure (giving you a darker image) by one stop (there are also fractions of stops, which is where you'd see shutter speeds like 1/80s).

Likewise, going from an aperture of f/2.8 to an aperture of f/2.0 is an exposure increase of one stop. Going from ISO 100 to ISO 200 is a one stop increase.

I can't remember if there's an exposure meter in Manual exposure mode, but in Auto exposure mode, in the bottom right of your controller screen, there should be an indicator that says "EV," which stands for "exposure value." 0EV means your camera thinks the image is well-exposed. A negative number, such as -2EV, means the camera thinks your image is underexposed by two stops. A positive number, such as +2EV means the camera thinks your image is overexposed by two stops. I say "camera thinks" because the camera's measure of exposure is not foolproof and certain conditions can cause your camera to be very wrong about the exposure value.

So if you're in manual mode, with exposure settings of shutter speed 1/60s, aperture f/5.6, and ISO 100 and you want to *increase* your exposure by two stops. You'd either have to change your shutter to 1/15s, your aperture to f/2.8, or your ISO to 400. You can also combine multiple changes to have the same increase. So you could change your shutter to 1/30s (one stop), leave your aperture the same, and increase your ISO to 200 (one stop), for a total increase of two stops.

There are different takes on color grading. Some say make all your changes to brightness/contrast/white balance, etc... and then apply your 709 LUT. Others apply the LUT straight away. In theory, the former would be the textbook way to squeeze the maximum dynamic range from your video. I generally grade first and then apply the LUT to make sure I can fix any shadows or highlights before the LUT goes on and potentially crushes them.
Thank you so much , this was probably the best explanation yet🙏🌹 truly appreciate it
Best
Greg 🙏😇
 
I want to say, I’m so blessed that we have this forum because you guys are simply the best of the best❤️

If you only really knew us... 😁

When you mean to the right of the histogram, Does that make things more bright?

Correct. This is because sensors are better at capturing brighter light than very dim. Several reasons, but the biggie is noise. This technique helps capture more detail in shadows, without blowing out the highlights. There's usually some room to the right ofvthe histogram to shift it right without clipping the right side of the curve (too much), so we can take advantage of this and overexpose a little to pull detail in the darkest areas above the noise.

Then just fix it in post.

When you mean by one or two stops, can you elaborate a little bit on this? I don’t know what this is.

A term referring to the aperture on film and higher-end drone cameras. Refers to an "f-stop", a standardized measure of aperture opening and light exposure. Here's a good explanation.

For someone just learning these things, shoot in Auto, use the EV adjustment to stop the exposure up or down. In this case your increasing exposure, so stopping up 1 or 2 stops mean setting EV to +1 or +2.

Also, when I put the Doc footage in my editing software, do I have to use a rec 709 lut , before I start colour grading?

Yes, rec 709 is the right lut.
 

DJI Drone Deals

New Threads

Forum statistics

Threads
134,673
Messages
1,597,395
Members
163,159
Latest member
Sonny12
Want to Remove this Ad? Simply login or create a free account