- Joined
- Apr 26, 2019
- Messages
- 135
- Reactions
- 125
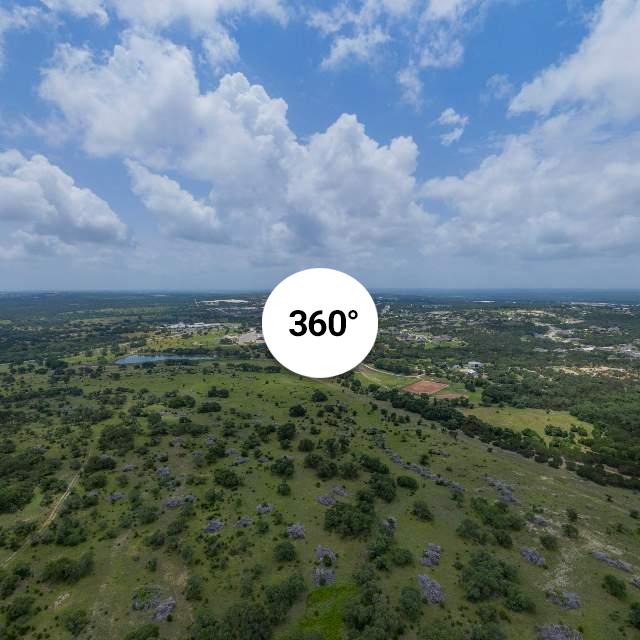
View attachment org_ec2cc1fb201aeda4_1561722244000.jpg
All of my Panos look like this. Sometimes worse. Any thoughts on how to fix?
All of my Panos look like this. Sometimes worse. Any thoughts on how to fix?
")