- Joined
- May 2, 2019
- Messages
- 46
- Reactions
- 3
Hey guys,
I have a Mavic 3
I fly to Greece every summer between July - August. During the day the sun is very bright .
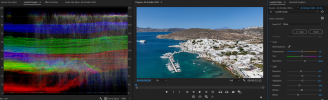
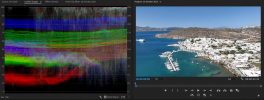
This past summer I decided to use an nd filter 16 as an around during the day. It seems the quality wasn’t good. Looked very burned.
Does anyone have a rule of thumb of what nd filter numbers to use during each part of the day? Is 32 too much for the day? And how about golden hour?
The second question is that when I press zoom x2 or 7, and when I move the Mavic towards the sun as it sets, the aircraft doesn’t go straight. It wobbles left and right and up and down . Even if I go very very slow. If I have it on the normal camera It flies straight, what can this be?
Best
Greg
I have a Mavic 3
I fly to Greece every summer between July - August. During the day the sun is very bright .
This past summer I decided to use an nd filter 16 as an around during the day. It seems the quality wasn’t good. Looked very burned.
Does anyone have a rule of thumb of what nd filter numbers to use during each part of the day? Is 32 too much for the day? And how about golden hour?
The second question is that when I press zoom x2 or 7, and when I move the Mavic towards the sun as it sets, the aircraft doesn’t go straight. It wobbles left and right and up and down . Even if I go very very slow. If I have it on the normal camera It flies straight, what can this be?
Best
Greg