


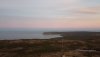
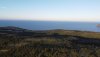
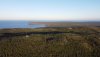
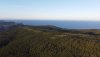
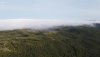
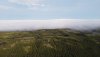
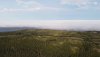
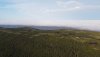
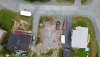
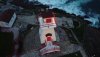
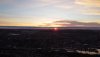
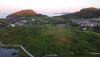
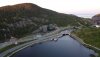
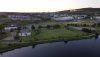
Here’s some fog I hear people come from all over to see it lol i havent edited at all if someone wants to make them better then by all means plz
Attachments
-
 83D401D6-BF1B-4333-8A89-5B3E5167D78C.jpeg4.1 MB · Views: 67
 -
 DE1AD7BE-4753-4342-A92E-BEDBDF017E5D.jpeg4.6 MB · Views: 60
 -
 83D0B7E8-9B93-4F7B-8225-FD2C00CF8925.jpeg4.5 MB · Views: 56
 -
 4E5D788A-21D0-4C72-B689-07E59C219712.jpeg4.8 MB · Views: 50
 -
 AF6EC2A9-816C-4AD9-A040-94C6D553B4C9.jpeg4.6 MB · Views: 55
 -
 82E44DBB-52BC-4085-ABDE-8785E5A8C89B.jpeg4.6 MB · Views: 53
 -
 EF0899C5-DE47-442D-A7A8-E426C45A5658.jpeg4.6 MB · Views: 48
 -
 CCF064EB-E318-4688-AE39-BD96FAEC30C5.jpeg4.6 MB · Views: 51
 -
 9F38483D-A37C-40B4-8427-25135AF4DA51.jpeg4.1 MB · Views: 53
 -
 F4C3184B-E155-4A66-B88C-9B9B456E75BE.jpeg4.1 MB · Views: 49
 -
 C77D5A2A-3700-4127-A4B3-E43200AF49C0.jpeg4 MB · Views: 52
 -
 5B6B2E10-C362-4C7D-B609-8E27A684387D.jpeg4.1 MB · Views: 50
 -
 14C74D54-8AED-48AD-9B4D-477ADA2A955E.jpeg4.1 MB · Views: 51
 -
 639A58AB-5F7C-4DA0-8064-4874049BD490.jpeg4 MB · Views: 50


 Awesome projection.
")


