DJI Mavic, Air and Mini Drones
Friendly, Helpful & Knowledgeable Community
Join Us Now

Thermal paste

I was just rereading through this thread and noticed where someone had mentioned there is a 1+ mm gap between the heatsink and the aircraft frame. HaloweenHamster's picture doesn't really make that claim evident. There definitely appears to be a significant gap around the heatsink contact points, but the heatsink contact points themselves appear to be making good solid contact to the frame, or at least as well as can be expected for mass produced mating surfaces. If you have a 1+ mm gap between your actual heatsink mating surfaces, you have a problem that needs to be addressed.
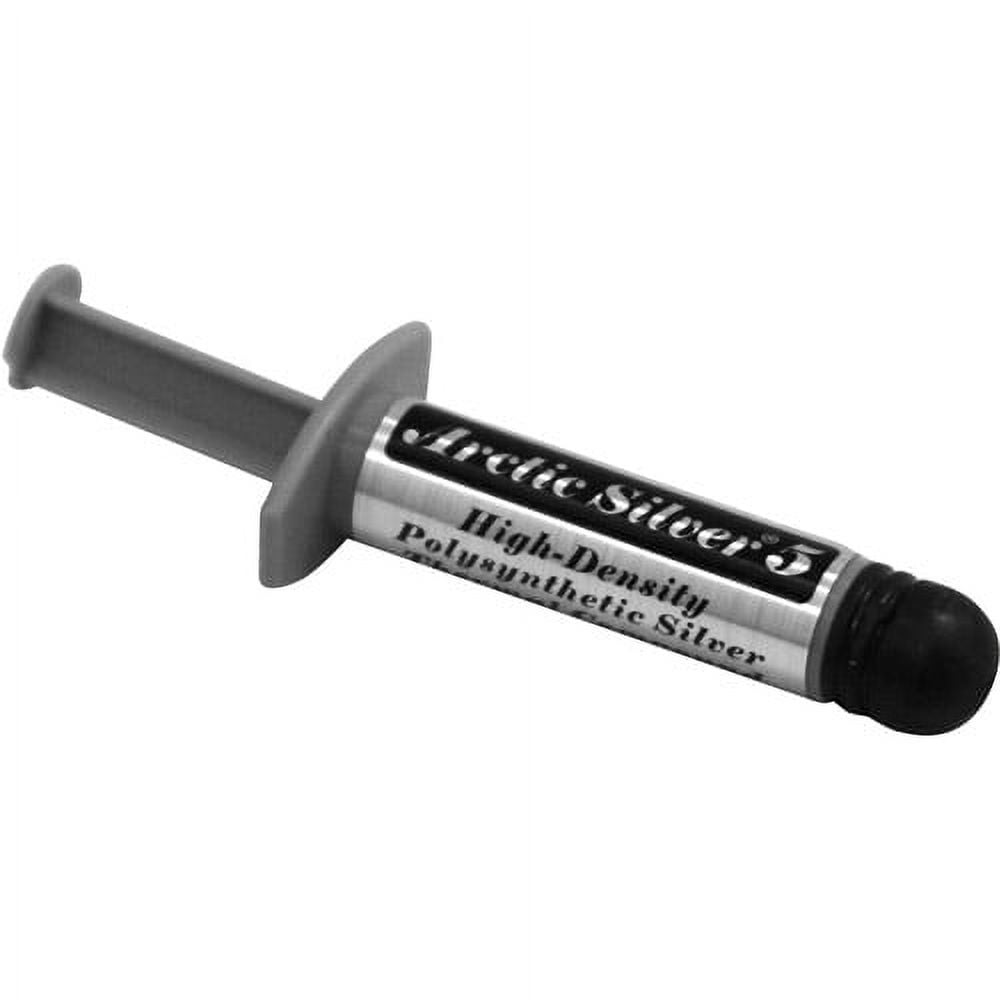
If anyone wanted to get super-serious about heat transfer, the next step would be to lap the mating surfaces. It's one of the new rages in getting heat out of CPUs, and it's quite effective ... that and delidding of course, which is a whole other kettle of fish.
Long story short, heat will kill your electronics quicker than a low voltage spike. You want to be able to get rid of as much of it as you can, as fast as you can.
 
In early computers, and in some very low end units still, mineral rich clay actually was/is used as a thermal compound. Could very well be that is what is being used in these aircraft. If you are going to change to a more modern thermal paste, you will want to clean the mating surfaces as best you can. Try and remove all evidence of the old paste before applying the new.
 
In early computers, and in some very low end units still, mineral rich clay actually was/is used as a thermal compound. Could very well be that is what is being used in these aircraft. If you are going to change to a more modern thermal paste, you will want to clean the mating surfaces as best you can. Try and remove all evidence of the old paste before applying the new.

DJI paste seems to be easy to remove. Non-adhesive.
 
I took off the bottom and quickly realized there are essentially 'no user serviceable components'. So, I cleaned all of the thermal paste up
and purchased what looked to be the best (silver stuff- Protronix Series 7). It works fine and the bottom plate (a big part of the processor cooling) seems to be even warmer than the original with similar flight times and distances flown and video taken. Getting warmer than stock seems to be a good thing as it is more efficiently dumping the processor(s) heat. I probably put on too much but I want the mother board to be kept as cool as possible.
That's it...and nothing more. I have many flights with the new paste and not so much as a heat warning or any other problem related to processor heat..BTW we have had very hot weather here for most of the summer.
 
Last edited:
Yogi & Thunderdrones, thanks for the excellent advice, and your experience is very relevant. I've played with the inside on a few of these, and there can be quite a variation in chip height on the board. I used a small piece of glass and Plastigauge (an old engine blueprinting method) and found chip height variation to be up to .07mm which is quite a bit. I think in this application I would look for a high viscosity compound that's non conductive and has a high thermal transfer rating. I've lapped pc cores before (water and nitrogen cooling), and on a tight fit a thin (low viscosity) compound is preferred. With these much larger clearances, I believe more reliable results can be obtained with a thick compound. When I re-use existing thermal paste, I use a piece of credit card (preferably your wifes) to lift it off the edges, and mound it slightly on the center of the chip. I burned out a few overclocked PC cores by just putting it back together, then during failure analysis found there were small voids in the paste from pulling them apart and then putting them back together. These chips aren't being pushed as hard, but I believe it's still a good practice in general. Years ago I heard an egghead say for every 10% you increase core temp, you cut the life in half. Having your mavic laying on the carpet while you fiddle with setting can also really heat it up and reduce the life of the chips. Running with the gimbal cover on also makes it run a lot hotter in my experience.

Your chip talk gave me the warm and fuzzies, and took me back to my earlier days. I still have my original 1982 Atari 800. Programming pages of code in "basic" from the Atari magazine. "if then" "go to" etc. Then you would spend hours trying to find your "typo" when the program crashed. :)

Regards,

Kevin
 
https://ntrs.nasa.gov/archive/nasa/casi.ntrs.nasa.gov/19970026086.pdf

Remove heat sink - polish using 40micron polish working down in grade to 5 micron if you have the time energy and effort, be carful to work evenly to create a flat surface as the heat sink is porous and easy to disfigure when starting this process, Carefully polish 35um copper sheet, cut to size with scalpel, flatten with glass sheet, Elevate ECS FET board using mini silicone washers to add compliance and increase contact force of FETs to heat sink - USE "Thermal Grizzly - Kryonaut" thermal grease on heat sink, copper and FET - THE SMALLEST LAYER POSSIBLE!!

This will massively reduce the Thermal contact resistance and prolong chip life!

If you plan on opening the drone and removing the heat sink more than once - Use a GRIPHITE thermal conductive pad! still try to clean/polish the heat sink if possible, this will help!

I got a second hand drone for my birthday in a box... it came in pieces completely stripped... like completely! it was flown into a wind turbine blade that was spinning at a good 30mhp! my girlfriend couldn't afford to buy me a new one and knew id be up for the challenge of rebuilding one from scratch so she threw me in at the deep end.... word of advice, a complete rebuild from scratch and I mean, like every bolt, ribbon cable, gimbal rebuild and replacing snapped arms takes about 9 hours and a few beers...

once the heat sink compound is disturbed by removing the board + heat sink - it should be replaced! AND as hherbson has very rightly pointed out - chip heights vary due to the MOSFETS being SMC/Surface mount packages and being mounted directly to the PCB where solder heights can vary ever so slightly and not Through Hole TO-220AB type packages which are bolted or pressed against a heat sink with a retainer clip and normally have much better heat dissipation properties!

( I originally wrote a very nice post but accidentally pressed the backspace key when swapping tabs and lost 97% of what I had written... so this is a cut down version but contains all the essentials...I've also repaired Compass 2 (front compass) at surface level - if you get any compass errors relating to compass 2 - just replace the front compass, its a lot easier and more reliable that soldering 1 - 0.8mm surface mount resistors back in place that have pads which are about 0.02mm wide)
 
Last edited:
When you polish, whether using 40 down to 5 micron grit polish, or simple jeweller's rouge, spread the polish/paste on a piece of flat glass first. This helps ensure the flattest possible finished surface.

@RSG953 ... would it be possible for you to calculate for us the few beers/rum & coke equivalent ???
 
  • Like
Reactions: RSG953
I would say due to the distraction of having my girlfriend rabbiting away in my ear for a good 3+ hours whilst rebuilding the drone and finishing the build at gone 3:30 am - the level of distraction induced by her would easily equate to a further 3 beers and possibly missing one finger on each hand (id finished a 12 hour shift at work prior to commencing the rebuild and was hitting the 21/22 hour mark of being up.. My eyes were blood shot and upon finishing - the first stupid thing I did was do a quick check, powered her up and flew her into a wall as the IMU was almost maxed out in one axis and needed calibrating and at the time I didn't pay attention to the fact that it clearly told me it would take off and reach a set altitude)

placing the drone a mere few feet away from the wall probably wasn't the best of ideas either, luckily it didn't cause any damage other than to the plasterboard :/

Adding these variables into the equation id say 1 moderate Rum & Coke every hour after the first two hours + a Pizza at the 3 hour mark would be a good base line to work from!

Thank you for the advice too, I will try that! I have plenty of glass sheet knocking around for my 3D printer heat bed.
 
Might I add... this was inside my living room... I still need to fix the wall but I have this process to do to my friends second drone.. My girlfriend brought my drone off of him. (He recently snapped the front right arm off... I asked him how low he could fly his.. a little too low was the answer... swapping the arm over is really easy - replacing the ribbon and video cable in the gimbal is a b*tch,... very fiddly.. I finish my shift at 6am tomorrow morning - quick beer and that is the first task of the day :) Engineers don't sleep if you were wondering lol!
 
[QUOTE = "psteichen, post: 519408, tag: 68131"] Köszönjük a tanácsot
Az Arctic MX-4-et kaptam. Remélhetőleg ez megtörténik. [/ QUOTE]

Szia! Megváltozattam a hővezető pasztát a napokban, és Arctic MX4-et használtam. Remélem, jól fogod vezetni a hőt, és nem fog túlmelegedni. Milyen tapasztalat van azóta? helyes-e a hővezető képessége?
 

Attachments

  • received_817392998593107.jpeg
    received_817392998593107.jpeg
    233.1 KB · Views: 47
Just on the heat sink. There is quite a lot of detail in this post about polishing and using expensive heat sink paste, but having this apart, that sounds to be unnecessary. The cover that is acting as the heat sink appears to be a plastic, maybe a metallised plastic and its thermal conductivity is average. I have some 1mm thick thermal pads that I could use but the existing material that DJI have used (looks like a foam almost) is still intact and so I will leave it be.
 
So was there ever really a verdict as to which heatsink compound is best? And does anyone have a link to “non conductive” thermal compound? I can only find conductive and I am ignorant to the difference between the two...especially of it doesn’t mean electrically conductive.
 
So was there ever really a verdict as to which heatsink compound is best? And does anyone have a link to “non conductive” thermal compound? I can only find conductive and I am ignorant to the difference between the two...especially of it doesn’t mean electrically conductive.

Each to his own.

 
  • Like
Reactions: Texas Mavic
What you need is thermal paste that dissipates heat but doesnt conduct electricity.

"Arctic Silver 5 High-Density Polysynthetic Silver Thermal Compound is designed to be conductive only to heat rather than electricity and so is safer to use than electrically conductive materials."
 

DJI Drone Deals

New Threads

Forum statistics

Threads
131,233
Messages
1,561,077
Members
160,185
Latest member
Tarizzman