- Joined
- Jan 29, 2024
- Messages
- 24
- Reactions
- 48
- Age
- 24
- Location
- Raleigh, United States
- Site
- youtube.com
Hello all,
I have compiled an extensive tutorial about flying large scale mapping and photogrammetry missions fully autonomously specifically on the DJI Mini 4 Pro drone (without SDK). This tutorial relies heavily on the in-built waypoints feature on the Mini 4 pro. I have also attached a general tutorial video for the Mavic 3/Air 3/Mini 4P, however this post is specifically for the Mini 4 Pro and its RC's.
1. Create and save at least 1 waypoint mission on your RC


2. Generate a flight / mission plan using https://www.waypointmap.com (free tool I made)
Tools to make a flight plan:
 Move tool
Move around the map
 Polygon selection tool
Make a selection for an area to map
 Individual waypoint tool
Add an individual waypoint, good for more complex flights/ controlling travel.
 POI (Point of interest) tool
Will generate points looking at the center of the circle at ground level.

These tools are located in the top center of the map
For the circle and polygon once you draw them you need to generate the points:
 (Click on the shapes with the hand/move tool)

You can make some crazy combinations/flight plans as well as edit each point by clicking on it with the hand tool.

When you are done click on the green "download KMZ file" at the bottom of the page:
3. Install the mission plan into your drone
DJI RC or (DJI RC-N2 w/ Android):
Note: For DJI RC if you have a MAC you will need to install Android file transfer to access your RC's files: Android File Transfer
Plug your RC 2 into your computer and navigate to

Pick the newest folder with random letters.

Replace the kmz file with the downloaded one.
The downloaded and renamed kmz file should match the old one (match folder name with the extension .kmz)
DJI RC-N2 w/ Apple Device:
Download the file:

Save to files > On My iPhone > DJI Fly > wayline_mission > (There should be a folder named a random string of numbers and letters)

I usually pick the newest folder with random letters.
There should be a file with the ending .kmz in this folder, you want to replace it with this generated/downloaded one from WaypointMap.

The downloaded KMZ file should be renamed to match the folder name with the extension ".kmz".
4. Select the mission plan
For this you just select the most recent waypoint mission you flew earlier. It should import all of your generated waypointmap points into the fly app. Then you just hit go.


Make sure to click next then go.
5. Fly the mission
If you are using the free version of WaypointMap you just need to enable the timed shots feature on your drone. So it will automatically take pictures as you fly through the mission. Make sure you click this as you start your mission.

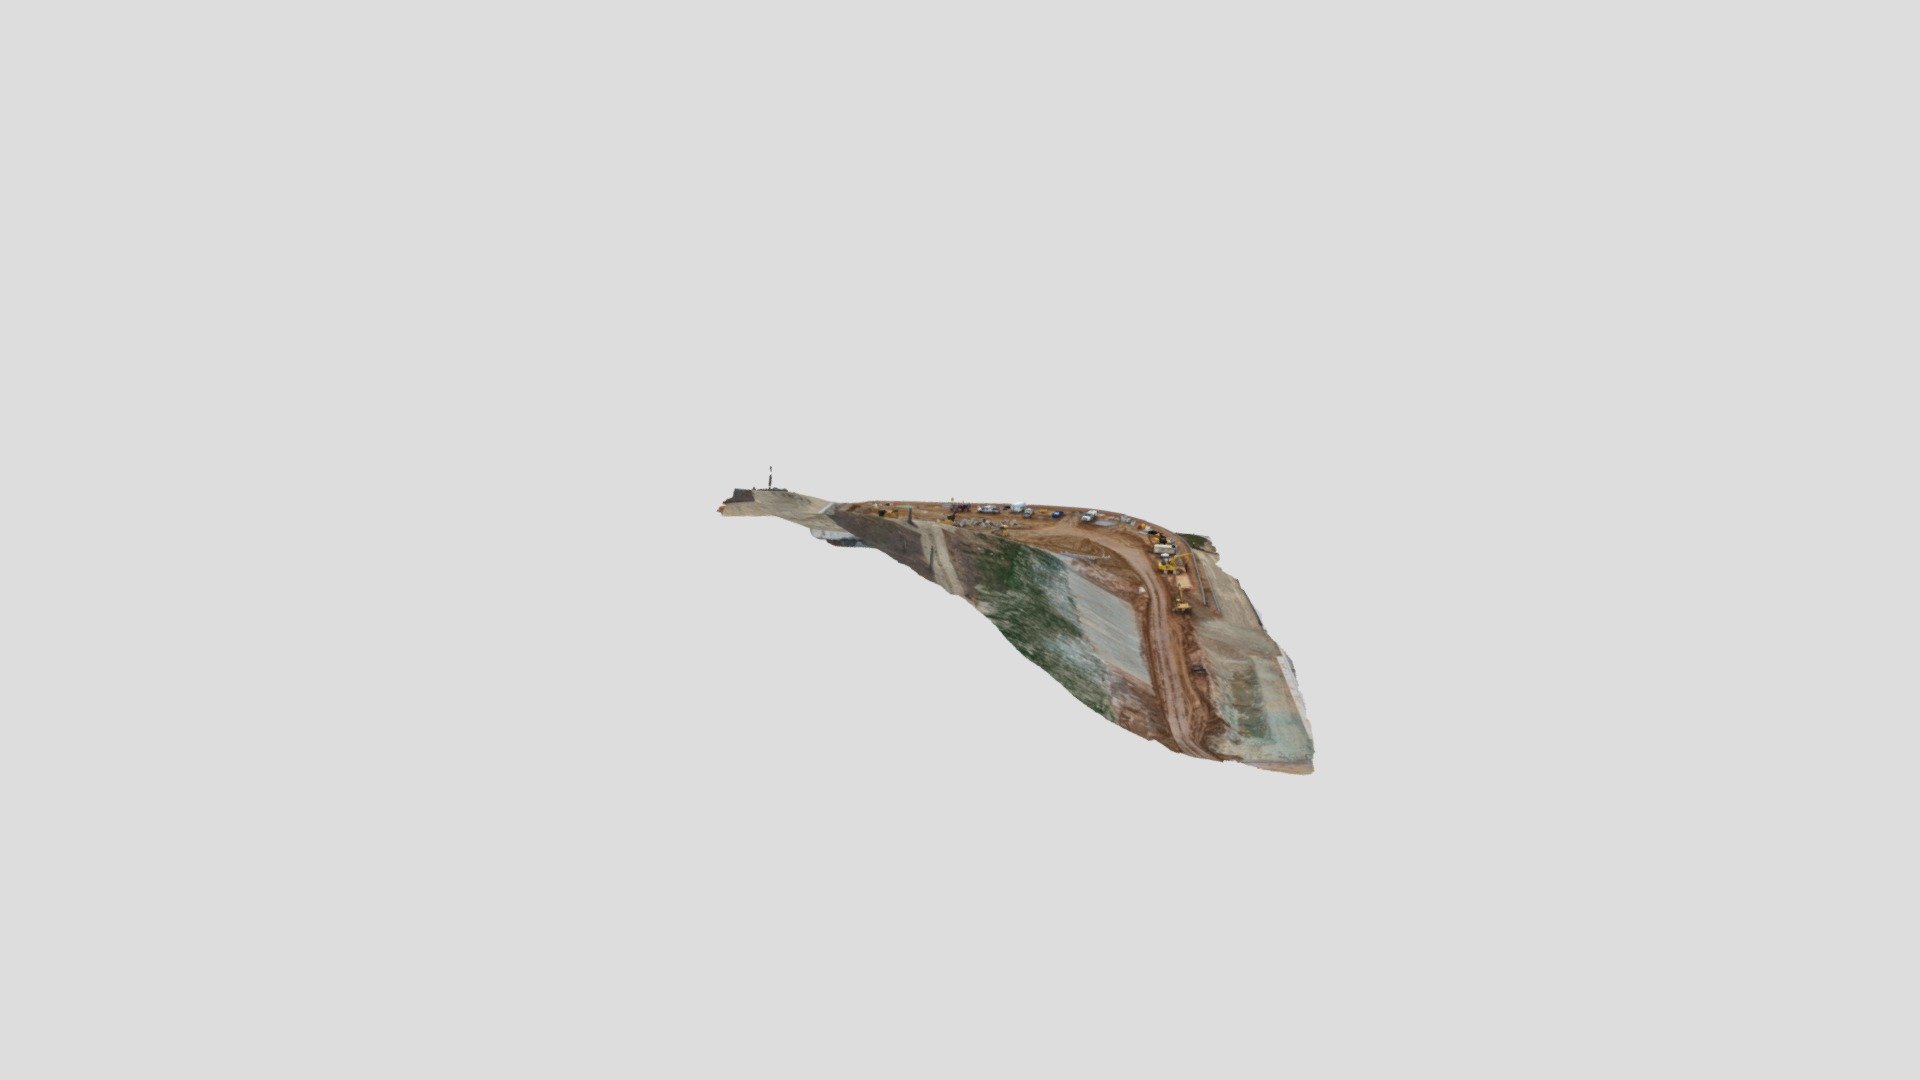
6. Generate the point cloud
I personally prefer WebODM because it's free to install (if you know Linux)
WebODM Site: WebODM Drone Software - OpenDroneMap™
Great tutorial video for installing:
General Tutorial video for Mavic 3 family/Air 3/Mini 4 Pro:
I have compiled an extensive tutorial about flying large scale mapping and photogrammetry missions fully autonomously specifically on the DJI Mini 4 Pro drone (without SDK). This tutorial relies heavily on the in-built waypoints feature on the Mini 4 pro. I have also attached a general tutorial video for the Mavic 3/Air 3/Mini 4P, however this post is specifically for the Mini 4 Pro and its RC's.
1. Create and save at least 1 waypoint mission on your RC
2. Generate a flight / mission plan using https://www.waypointmap.com (free tool I made)
Tools to make a flight plan:
Move around the map
Make a selection for an area to map
Add an individual waypoint, good for more complex flights/ controlling travel.
Will generate points looking at the center of the circle at ground level.
These tools are located in the top center of the map
For the circle and polygon once you draw them you need to generate the points:
(Click on the shapes with the hand/move tool)You can make some crazy combinations/flight plans as well as edit each point by clicking on it with the hand tool.
When you are done click on the green "download KMZ file" at the bottom of the page:
3. Install the mission plan into your drone
DJI RC or (DJI RC-N2 w/ Android):
Note: For DJI RC if you have a MAC you will need to install Android file transfer to access your RC's files: Android File Transfer
Plug your RC 2 into your computer and navigate to
Pick the newest folder with random letters.
Replace the kmz file with the downloaded one.
The downloaded and renamed kmz file should match the old one (match folder name with the extension .kmz)
DJI RC-N2 w/ Apple Device:
Download the file:
Save to files > On My iPhone > DJI Fly > wayline_mission > (There should be a folder named a random string of numbers and letters)
I usually pick the newest folder with random letters.
There should be a file with the ending .kmz in this folder, you want to replace it with this generated/downloaded one from WaypointMap.
The downloaded KMZ file should be renamed to match the folder name with the extension ".kmz".
4. Select the mission plan
For this you just select the most recent waypoint mission you flew earlier. It should import all of your generated waypointmap points into the fly app. Then you just hit go.
Make sure to click next then go.
5. Fly the mission
If you are using the free version of WaypointMap you just need to enable the timed shots feature on your drone. So it will automatically take pictures as you fly through the mission. Make sure you click this as you start your mission.
6. Generate the point cloud
I personally prefer WebODM because it's free to install (if you know Linux)
WebODM Site: WebODM Drone Software - OpenDroneMap™
Great tutorial video for installing:
General Tutorial video for Mavic 3 family/Air 3/Mini 4 Pro:

")