Your
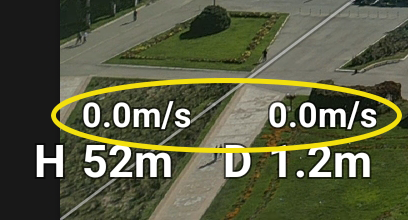
Mini 3 Pro is pretty stable. If you are high at 120 m you will not notice any parallax error. If you are low you might if you are close to something and you take a while to shoot the panorama.
I suggest you use the automatic panorama modes. The drone will take the pictures as fast as it can which minimizes time to drift (only noticeable if you are low and close*) and for the light to change and clouds to move (more noticeable). The only downside is you then have to wait for the drone to stitch the images to make it's own panorama (which you are going to ignore). The upside is that while the drone is taking the pictures you can be focused on flying rather than photography (situational awareness is
always a priority).
If you are shooting a panorama manually the trick is to
only yaw the drone — only left/right stick — and use the gimbal. And leave 1/3 to 1/2 overlap between images.
(This is one reason I use the panorama mode. I've shot manual panoramas since the 80s, and I
still sometimes miss a frame when shooting, especially if I get interrupted by a higher-priority task — and flying safely is
always a higher priority than getting a picture, so scanning the sky and locating where that engine noise is coming from will always trump remembering where I am in the panorama sequence.)
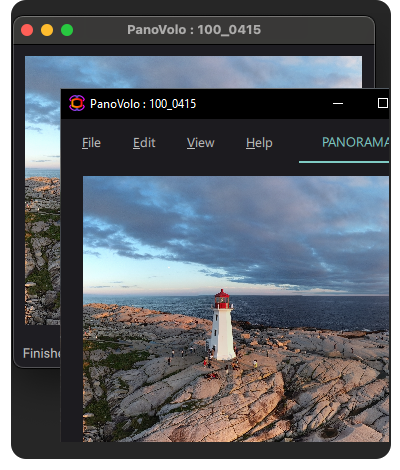
If you are just starting out and don't have software that will handle panoramas for you then I suggest you look at Panovolo — download the free trial and see if you like the user interface and the results.
If you want a cheaper alternative to Photoshop, I recommend Affinity Photo. Most of the functionality of Photoshop for a much cheaper one-time price. Currently on sale for 30% off, too. I have the full suite (Photo/Designer/Publisher) and am very happy with them.
It seems you are using an old or unsupported browser. To continue enjoying our product, please update to a recent version of one of the following browsers:

affinity.serif.com
*I usually shoot three, sometimes four, spherical panoramas when doing my 360°s. This takes a few minutes, and during that time the drone sometimes moves a bit. Not much, maybe a metre, but enough for parallax error to be visible if I'm close to something. And more obvious on a day with gusty winds. (Higher speed but steadier winds have less drift, which is why I don't believe that the only factor affecting stability is drone speed — response time also seems to be a factor.) I've learned that in those conditions I should shoot a quick panorama using automatic exposure mode first, then shoot my bracketed panoramas.